How to Choose the Right Intake Sensors?
Choosing the right intake sensors is not a simple matter of matching a connector. These components measure airflow, pressure, temperature, or throttle position inside demanding engine environments. Their readings influence fuel delivery, ignition timing, emissions, drivability, and diagnostic decisions. A small measurement error can appear as hesitation, rough idling, poor fuel economy, or an engine warning light.
Dr. Elena Marquez, an automotive sensor specialist, explains the practical principle clearly: “A sensor is only as reliable as the conditions surrounding its measurement.” That includes heat, vibration, moisture, electrical noise, and installation position. It also includes the vehicle’s control system. A high-quality intake sensor may still perform poorly when its signal range does not match the engine control unit. Check the specifications carefully.
The selection process should begin with the measurement requirement. Do you need intake air temperature, manifold pressure, mass airflow, or combined data? Then review response time, accuracy, operating range, connector design, calibration, and resistance to contamination. The housing must also suit the available space. Tight engine bays leave little room for careless routing.
Real-world experience matters here. A sensor can pass a laboratory test and fail beside a hot exhaust manifold. That possibility is easy to overlook. Compatibility deserves equal attention. Confirm the original part number, voltage output, communication protocol, and mounting method before purchase.
There is no perfect choice.
The best intake sensors balance accuracy, durability, integration, serviceability, and cost. This guide examines those factors closely, while acknowledging an uncomfortable truth: the cheapest replacement may become the most expensive mistake.
Define Engine Air-Measurement Needs: MAP, MAF, and IAT Sensor Roles
How to Choose the Right Intake Sensors?
Define Engine Air-Measurement Needs: MAP, MAF, and IAT Sensor Roles
Choosing intake sensors starts with understanding what the engine must measure. A MAP sensor reads pressure inside the intake manifold. It helps estimate engine load during changing throttle conditions. A MAF sensor measures the actual mass of incoming air. This can support precise fuel delivery when airflow changes quickly. An IAT sensor measures air temperature, which affects air density and ignition calculations.
During calibration work, I have seen sensor selection fail because the pressure range looked suitable on paper. The sensor was accurate, but its response became unstable near the engine’s operating limit. That shortcut was wrong. Check the expected pressure, airflow, temperature range, electrical output, and response time together. A sensor should also match the control unit’s input requirements. Small signal differences can create large fueling errors.
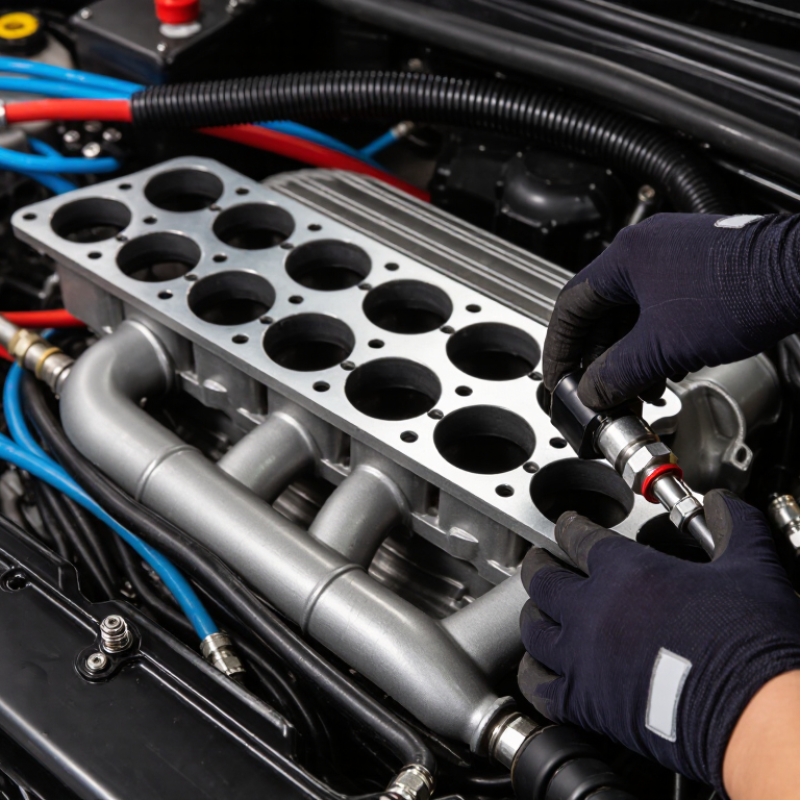
Location matters too. Install the MAP sensor where pressure pulses are manageable and the connection stays short. Place the MAF sensor in smooth, representative airflow, away from turbulence and leaks. Position the IAT sensor where it measures entering air, not heat soaked by nearby components. Test readings after cold starts, warm operation, rapid acceleration, and heat soak. Real testing often exposes assumptions that calculations miss. Keep records of measured values and calibration changes. Reliable data begins with a clear measurement purpose.
Verify Response Times Below 100 ms and ISO 16750 Environmental Durability
How to Choose the Right Intake Sensors?
Verify Response Times Below 100 ms and ISO 16750 Environmental Durability
Choosing an intake sensor requires more than checking its measuring range. In engine and vehicle testing, response time can influence control stability, fault detection, and transient performance. Ask for a verified response below 100 ms under defined conditions. “Fast” is not a sufficient specification. Measure it directly.
Request the test method, input step size, signal filtering, and 10–90% response definition. A sensor may achieve 85 ms in a laboratory, then respond slower after filtering or temperature exposure. Test it cold. Test it hot. Repeat the measurement with realistic wiring and sampling settings. That gap matters. Engineers should also confirm calibration traceability and review the complete test report, not only a performance table.
Environmental durability should align with the relevant ISO 16750 requirements for road vehicle electrical and electronic equipment. Check exposure to temperature cycling, vibration, mechanical shock, humidity, chemical contact, and supply voltage disturbances. The exact profile depends on mounting location and vehicle conditions. A sensor near an intake duct may face condensation and vibration that a bench test cannot reproduce. Plans miss details. A combined validation test can reveal loose connectors, signal drift, or delayed output after repeated cycling. However, ISO compliance alone does not guarantee suitability for every installation. Mounting, airflow pulsation, contamination, and service intervals still require engineering review.
Select Output Types and Validate Calibration Against OBD-II Requirements
Choosing an intake sensor starts with its output, not its shape. A pressure sensor may provide an analog voltage, frequency signal, or digital data. Temperature sensors often change resistance, but the control unit expects a specific response curve. Check supply voltage, signal range, connector pinout, and update rate before installation. A compatible housing cannot compensate for an incompatible signal.
Calibration must be checked against OBD-II monitoring needs. Monitors may evaluate range, rationality, response time, and signal stability. Compare sensor readings with a calibrated reference during cold start, idle, cruising, and rapid throttle changes. Record ambient pressure and temperature as well. A scan tool should show stable values without unreasonable jumps. Atmospheric pressure matters, even during simple bench tests. Convert voltage or frequency through the correct transfer function. Then compare the result with expected limits and diagnostic thresholds.
A practical bench test can expose errors early. Apply known pressures, measure output, and repeat each point several times. Small differences may reveal wiring noise, poor grounding, or sensor drift. Do not trust one successful reading. A rushed test can look convincing. A sensor may match perfectly at idle, yet fail during a hot restart. Recheck calibration after heat and vibration exposure. Test records should include equipment accuracy, dates, and software settings. Some validation plans remain incomplete because they ignore transient conditions. That weakness deserves correction before road testing.